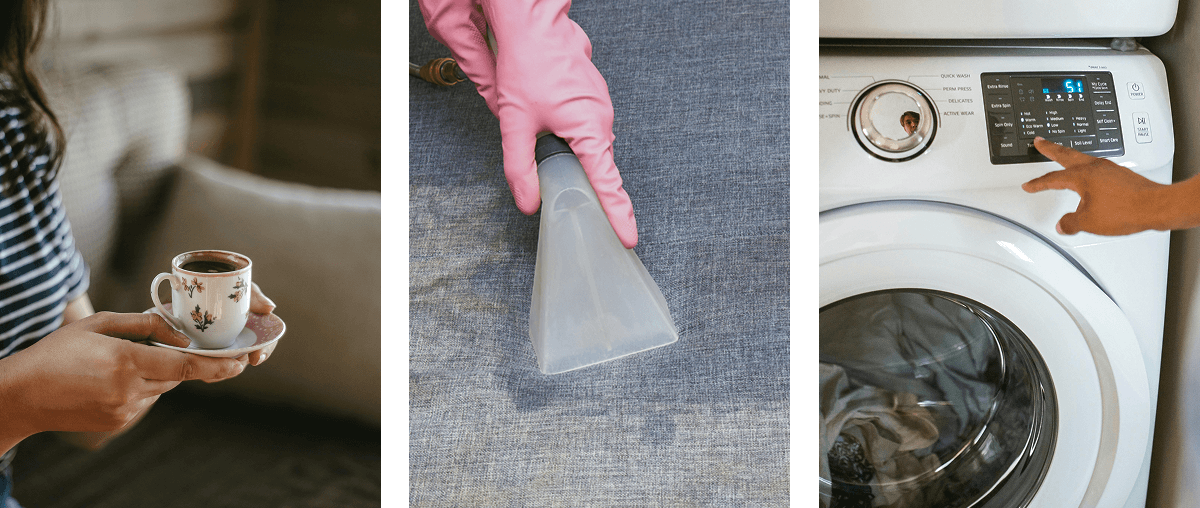
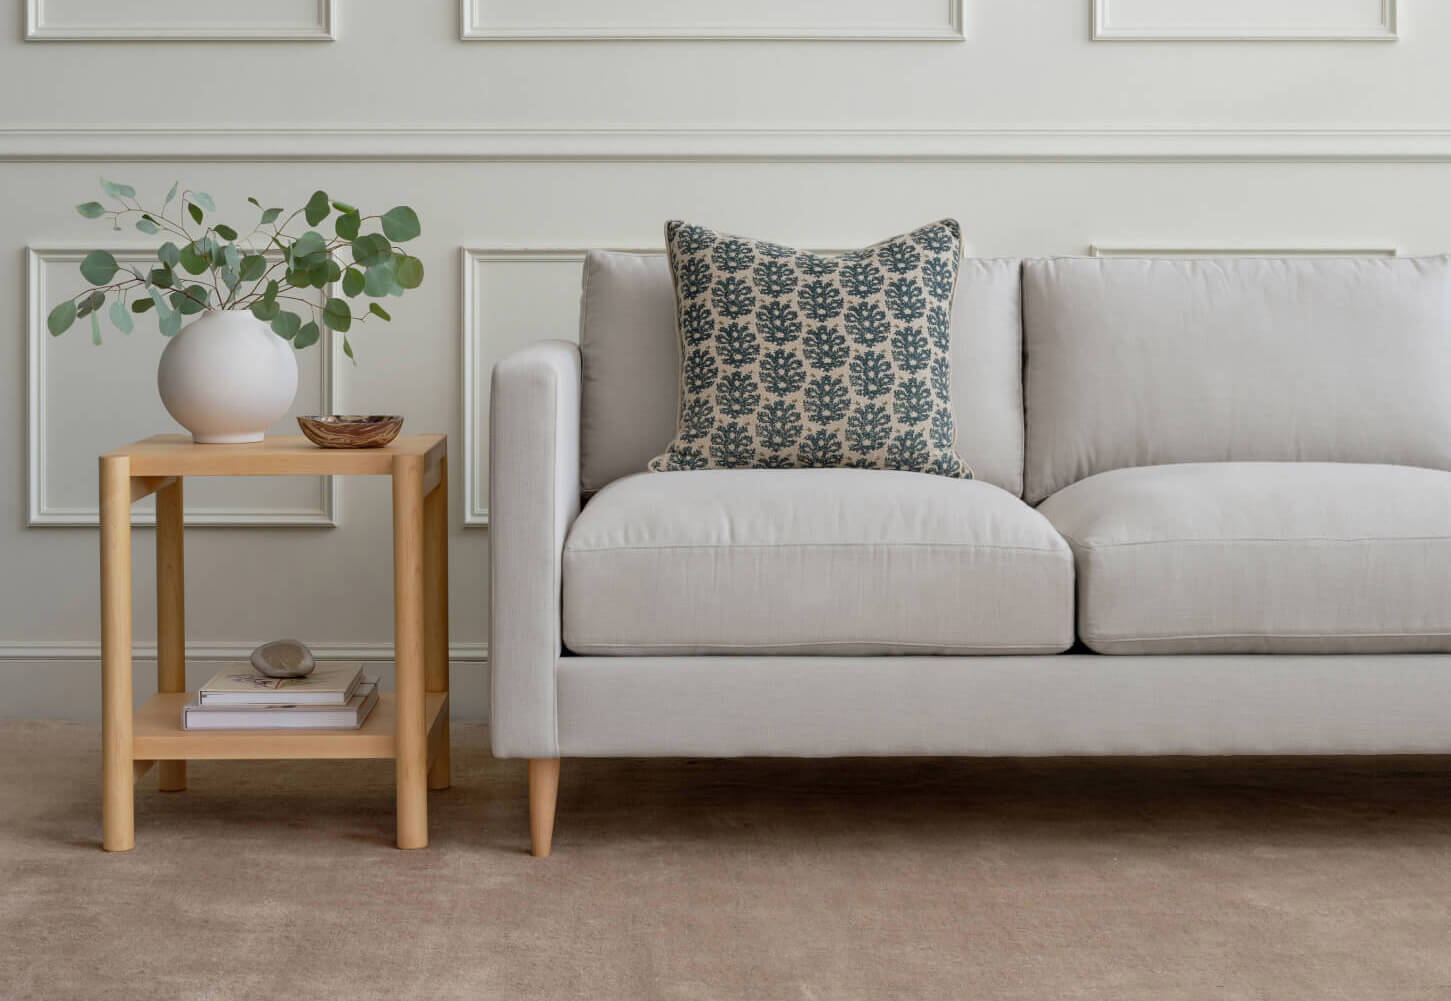
It happens to the best of us. One minute you're enjoying a peaceful morning coffee on your beautiful sofa, and the next minute—whoops!—there's an espresso colored puddle staring back at you from your favorite cushion. Or maybe it's red wine from last night's dinner party, or mystery sticky fingerprints from the kids' snack time.
Stains on your couch don't have to be mini-heartbreaks. With the right approach, most spills can be cleaned up without a trace. The key is knowing what fabric and stain you're working with, acting fast, and using the right techniques.
We've been in the sofa business long enough to know that life happens, so we're sharing all our best tricks for keeping your investment looking fresh for years to come. Whether you're dealing with a brand new spill or an old mystery stain, we've got you covered.
Before you start: Understanding fabric cleaning codes
Before you grab the first cleaning product you see, take a deep breath and check your fabric's cleaning code—the sacred text!—or better yet, find it on the back of those fabric samples you hopefully saved from when you ordered your sofa. Every upholstery fabric has a cleaning code that tells you exactly how to care for it safely. Here's what those mysterious letters mean:
W (Water-based cleaning): Your fabric can handle water-based cleaners and mild detergents. This is great news for most cleaning situations! Most synthetic performance fabrics fall into this category.
S (Solvent cleaning only): Water is the enemy here! For fabrics marked “S” , stick to dry cleaning solvents and professional cleaning products. Many delicate natural fabrics and some specialty weaves require solvent cleaning.
WS (Water or solvent cleaning): Lucky you! Your fabric can handle either water-based or solvent-based cleaners, giving you more options for tackling different types of stains.
X (Professional cleaning only): Step away from the DIY supplies. This fabric needs professional care, period. While we at Medley choose not to offer fabrics that need this extra-special care, it’s still important to know that some delicate silks, velvets, and specialty materials carry this code.
Important note: If you can't find your cleaning code, don't guess! Contact your furniture manufacturer or test any cleaner on a hidden area or fabric sample first.
For any Medley piece, you can always check our Product Care page, which includes detailed care instructions for all of our upholstery furniture pieces and more. If you still have questions, or just need a little extra reassurance, our sales and design team is always happy to help.

The golden rules of stain removal
Before we dive into specific techniques, here are the universal truths of sofa stain removal that apply no matter what you're dealing with:
Step 1: Speed is everything
The faster you act, the better your chances are at removing the stain. Fresh stains are exponentially easier to remove than those set-in ones, so don't let that spill sit while you finish your episode.
Step 2: Clear the debris
If your mess includes something chunky or thick (peanut butter, melty crayons etc…) make sure to remove the debris as best as possible. A credit card is great for scooping! For liquids, blot up as much as possible with fresh paper towels or a clean, white cloth.
Step 3: Test everything first
Even gentle cleaners can cause discoloration or damage. Always test in an inconspicuous area (we like the back corner) or on a fabric sample first. Wait for it to dry and check for any discoloration or texture changes.
Step 4: Blot, don't rub
While you wait for your cleaner to dry, start blotting away! Rubbing pushes stains deeper into the fibers and can damage the fabric weave. Always blot gently with clean, absorbent cloth or paper towel to pull the liquid out of the fabric. Use clean, white cloths or paper towels to avoid color transfer.
Step 5: Work from outside in
Start cleaning at the edges of the stain and work toward the center. This prevents the stain from spreading.
Step 6: Dry thoroughly
Allow the area to air dry completely. Speed things up with fans if needed, but avoid direct heat which can set stains or damage fabrics.
Step 7: Patience pays off
Good stain removal takes time! Repeat as necessary and once you cannot see the stain any longer, allow the fabric to fully dry. Evaluate your results, as some stains might require several rounds of cleaning. Don't rush the process, or you might end up making things worse.

Fabric Step-by-step Stain Cleaning Process
A Quick Note: Natural vs. Synthetic Upholstery
At Medley, we love natural fibers for their unique beauty and texture, but do keep in mind that natural fabrics (especially those without any sort of stain-resistance) are more prone to showing dirt, stains, and daily use. In general, synthetic materials, especially those with stain-resistant treatments, provide more durability and protection for upholstered furniture compared to their natural counterparts.
What kind of stain are you working with?: Oil vs. Non-Oil Based Stains
Fabric upholstery requires some tried-and-true tricks to keep a sofa clean, no matter what the fabric fibers are made of. Whether you opt for a natural fabric or a synthetic one, you’ll likely be relying on the same (or very similar) techniques when it comes to cleaning.
The most important question to ask yourself is: what kind of stain are we talking about? You’ll need to approach oil-based stains and non-oil based stains differently, so read on for all the deets!
Non-Oil Based Stains
Most often this category is focused on things such as dirt, the outdoors that came in, coffee, ice cream, chocolate, jam etc. There can be more or less oil in some of these mentioned, so use your best judgement.
Addressing the stain quickly is key. If you’re dealing with a bulky stain, clear debris or loose material first. If you haven’t already, start by double-checking your fabric’s cleaning code. For best results, and if your fabric is marked W (water-based cleaning) you’ll want to use an upholstery cleaning tool. (For solvent-only fabrics, use directions as indicated on your solvent-based cleaning solution.)
If the stain is on a cushion cover, remove the cushion cover as quickly as possible to reduce any wetness on the inside cushion, as well as ease of cleaning. Fill your upholstery cleaning tool with distilled water and wet the stain area to spot clean. Use the upholstery cleaning tool to pull the moisture back up into the machine. Again, take care to not rub the brush harshly against the fabric, especially against darker colors. Repeat as necessary. If your fabric is machine washable, turn inside out and wash on a cold, gentle cycle.
If you’ve followed the above steps and your pesky stain persists, move to the next step: white Dove bar soap is pretty great (you can also try a gentle, dye-free dish soap if you prefer). Rub the soap gently into the stain with your finger, then attack again with the upholstery cleaner, pulling the soap and stain back out. Take care to remove all the soap and liquid. Repeat as necessary.
Don’t skip the last step! Be sure to dry your inserts and the sections of upholstery fully before reassembling. You can use a hair dryer (no heat) or fan to create air flow and speed up the drying process. Please never put upholstery fabric in the dryer.
Note: some notorious stains (looking at you, turmeric) or those that have already set are next to impossible to get out. Nevertheless, the ol’ cover-it-up-with-a-throw-blanket trick always works.
Oil Based Stains
Oil-based stains can include olive oil, pizza grease, salad dressing, hair oil and more. Grease stains are tricky because they repel water, making water-based cleaners ineffective. The instructions for grease stains are almost the same as water-based stains above, but instead, you’ll jump right in with a soap cleaner for the best result.
Promptly address the stain by removing debris and separating any covers from their inserts. If you haven’t done so already, start by double-checking your fabric’s cleaning code.
Soak up all the oil you can: use an absorbent like cornstarch or baking soda sprinkled over the stain. Let it sit for 15-20 minutes (or ideally overnight), then vacuum away gently. If the stain persists (which is likely) lightly spray the area with distilled water using an upholstery tool cleaner — like this one. Then, grab a bar of white, Dove soap (or clear, liquid dish soap) and gently rub into the material. You can use your fingers to work it in. Using your upholstery cleaning tool, pull the water and soap back out of the material. Repeat as necessary.
At this point, if your fabric is machine washable, follow the instructions to machine wash your cushion cover (likely a cool, gentle cycle) and lay flat to dry. Be sure to dry your inserts and the sections of upholstery fully before reassembling. You can use a hair dryer (no heat) or fan to create air flow and speed up the drying process. Please never put upholstery fabric in the dryer.
Water stains and rings on your fabric upholstery
Water stains might seem ironic (fighting water with water?), but they're actually mineral deposits left behind as the water evaporates.
Lightly dampen the entire cushion or panel with distilled water from seam to seam. You can use an upholstery cleaning tool to then suck the new liquid along with the minerals back out of your piece. Use a fan to dry the affected area.
Please note: If your water rings are the result of some other element, such as dried marker, pen, crayon, food etc., that you previously tried to clean with water, you should treat this as a new stain, not a mineral deposit water ring stain.
Ink stains on your fabric upholstery
Welp, you’re in it now. Ink stains can be surprisingly easy to remove, or completely the opposite and impossible.
Make sure to test the following directions on a small, unseen section of fabric (or your fabric sample) before attempting – this advice has worked on many occasions, however, isopropyl alcohol can weaken some fabric fibers or cause dyes to dissolve, so work at your own risk!
If applicable, start by removing any debris, such as melted crayon wax. Lightly, but directly spray the stain with isopropyl alcohol. Use a clean cloth or paper towel to gently blot and pull ink/crayon from the material. Be careful not to rub aggressively, especially with darker colored fabrics, as the movement with the combination of alcohol can remove the dye color.
Repeat as needed. You can also try allowing isopropyl alcohol to set for 1-2 minutes before removal, but again, test in a small, discrete area on the fabric first. We’re rooting for you!
Leather Step-by-step Stain Cleaning Process
Leather Upholstery: Quite special indeed!

Leather deserves its own special category because it's completely different from fabric upholstery. The pro to leather upholstery is that even with daily use, it looks better with age – every scuff and scratch adds natural patina — think of it as character. To keep a leather sofa looking beautiful for years to come, use these tricks:
For spills, blot immediately with a dry cloth. Never use water-based cleaners on leather—they can cause staining, cracking, or discoloration.
To properly clean and maintain leather, use leather-specific cleaners and conditioners. Work in small sections and always follow up with a leather conditioner to keep the material supple.
Grease and oil stains on your leather upholstery
Use a clean, dry microfiber cloth to gently blot as much of the (fresh) oil or grease as possible from the leather surface. Avoid rubbing, as this can spread the stain. Sprinkle an absorbent powder such as cornstarch or baking soda directly onto the stained area, covering it completely (you can even let sit for several hours). Gently rub powder into the stain and vacuum to remove entirely.
Apply a quality leather conditioner to even out the stain and restore moisture. This will also protect the leather and bring back its shine.
Water stains and rings on your leather upholstery
Use a leather cleaner specifically designed for water stains, followed by conditioning. Never use water on leather to fix water stains — it just makes things worse!
How to properly disinfect your sofa
Sometimes you need more than just stain removal—maybe someone (with four legs?) was sick on the sofa, or you want to freshen things up after a big gathering.

An upholstery cleaning tool is your best friend when it comes to pulling smells and yuckies out. Especially if a persistent smell is due to deep stains or bacteria, a thorough upholstery cleaning with the right tool can help extract and neutralize those types of odors.
Try UV sanitizing: if possible, move cushions into direct sunlight for a few hours. UV rays naturally kill bacteria and help eliminate odors — plus it's completely chemical-free! Important note: We recommend this technique on lighter creams or white upholstery only, as (depending on the fabric) rich colors can fade very quickly in direct sunlight.
Another important note: As a general rule, avoid harsh disinfectants like bleach or ammonia-based cleaners on upholstery. They can damage fibers, fade colors, and create toxic fumes.
Prevention tips and maintenance
The best stain removal is stain prevention! Here are our favorite ways to keep your sofa looking fresh:
Regular maintenance: Vacuum your sofa weekly, including the crevices and underneath cushions. This prevents dirt from grinding into the fabric and makes future cleaning easier. Giving your sofa a once-over with an upholstery cleaning tool every so often will also lengthen your couch’s lifespan! We realize this article sounds like an ad for an upholstery cleaning tool, but seriously, they’re great!
Rotate and flip: If your cushions are reversible, flip and rotate them regularly to ensure even wear and prevent permanent indentations.
Address spills immediately: The faster you act, the better your chances of complete stain removal. Keep basic cleaning supplies handy so you're ready for accidents.
When to call in the professionals

Sometimes DIY just isn't enough, and that's okay! We applaud you for not ditching your sofa and making the most sustainable choice. Here's when to call in professional upholstery cleaners:
- Your fabric has an "X" cleaning code
- You're dealing with large stains or multiple problem areas
- Previous cleaning attempts have made the stain worse
- The stain has been set in for a long time
- You're dealing with valuable or delicate fabrics
- There are persistent odors that won't come out with home treatment
Choosing a professional: Look for certified upholstery cleaners who can show you their credentials. Ask about their experience with your specific fabric type, and always get a quote before work begins.
The bottom line: Your sofa can bounce back
Here's what we want you to remember: most stains are not the end of the world, and with the right approach, your sofa can look amazing for years to come. The key is understanding your fabric, acting quickly, and using gentle, appropriate cleaning methods.

At Medley, we design our sofas to be lived on and loved, which means they're built to handle real life — including the occasional spill. Our high-quality fabrics and construction are designed to help your sofa look better for longer, and many of our materials are specifically chosen for their cleanability and durability. If you’re choosing to make a new Medley purchase, we’ve also written a handy guide all about how to choose the right fabric for your sofa.
Remember, we're always here to help! If you're ever unsure about how to clean your Medley sofa, don't hesitate to reach out to our sales and design team. We know every fabric we use and can give you specific guidance for your particular piece.
Your sofa is an investment in comfort, style, and daily happiness. With proper care and the right cleaning techniques, it'll keep looking and feeling amazing through all of life's little (and not-so-little) adventures.
Now go ahead and enjoy that morning coffee on the sofa — you've got the knowledge to handle whatever life throws at your cushions!


Leave a comment
All comments are moderated before being published.
This site is protected by hCaptcha and the hCaptcha Privacy Policy and Terms of Service apply.